Page 6 of 11
Re: CAPE FEAR STRIPPER-6/12
Posted: Tue Jun 15, 2010 9:35 am
by preacher
Last pics and work for awhile, off to San Antonio with my 5 elected officials for annual conference and training . . . what joy . . .
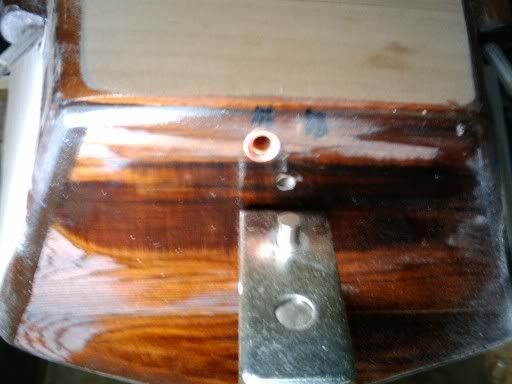
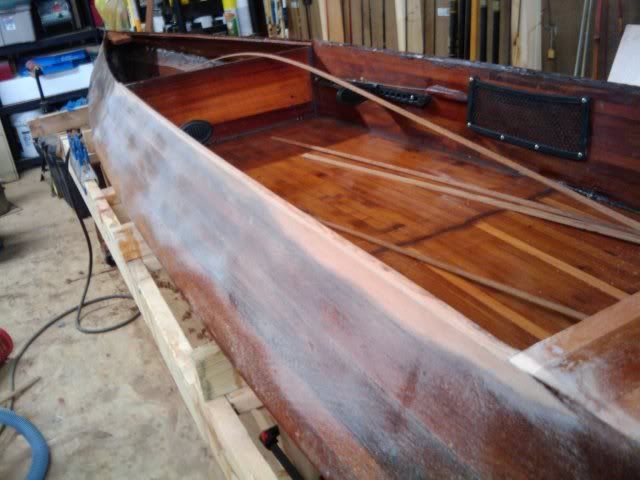
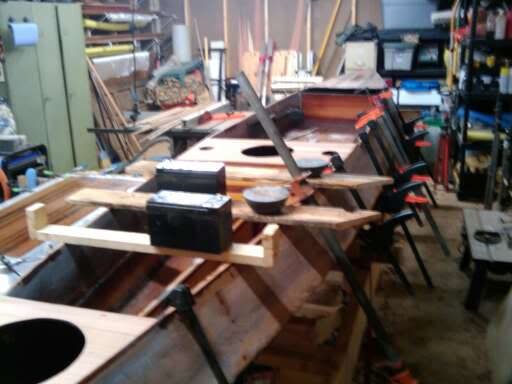
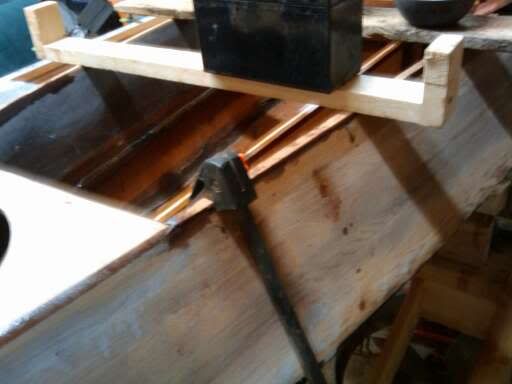
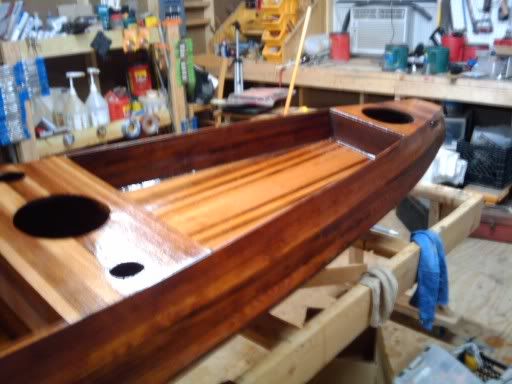
I have managed to put the tankwell sidewalls together and cut to size and fitted. Tankwell floor level is at the top of the scupper shown.

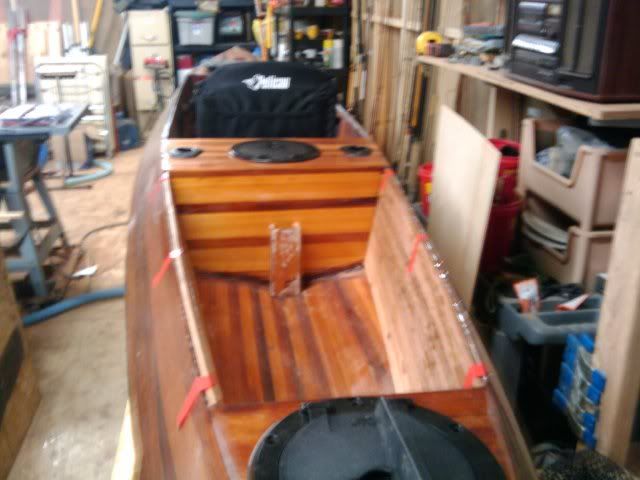
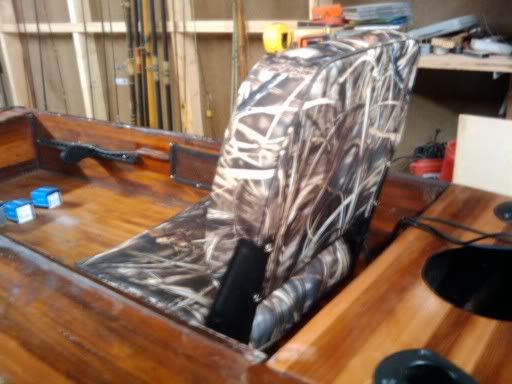
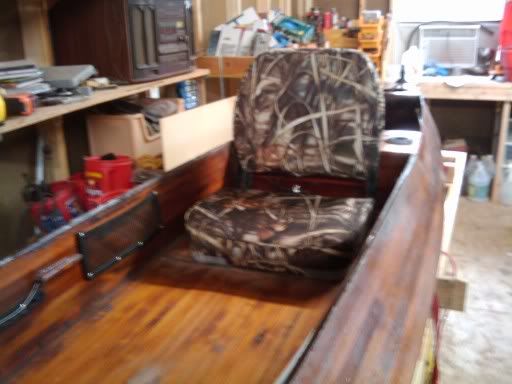
Also bought a cheapie seat (Pelican) and set it in place for visual but don't think this is the one I will end up with.

Mounted some Hobie mesh keepers on the cockpit sidewalls. Of course all this mounted stuff will come off for more resin and finishing.

And set the Crack of Dawn hatch in place for visual.

That's all until next week.
Got to get me a good camera

Re: CAPE FEAR STRIPPER-6/27
Posted: Sun Jun 27, 2010 9:43 am
by preacher
Re: CAPE FEAR STRIPPER-6/27
Posted: Sun Jul 04, 2010 9:29 pm
by preacher
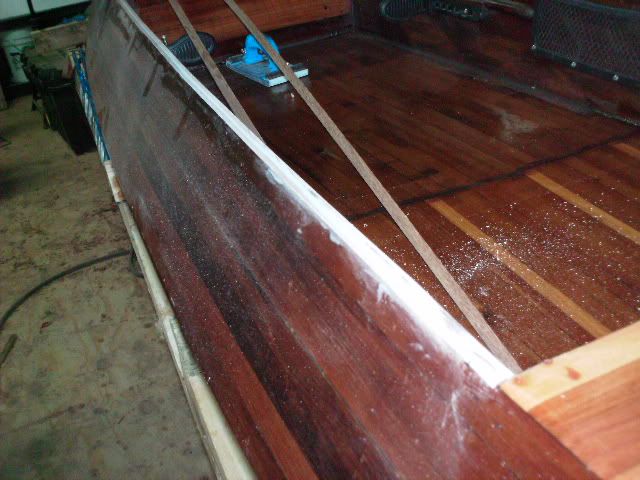
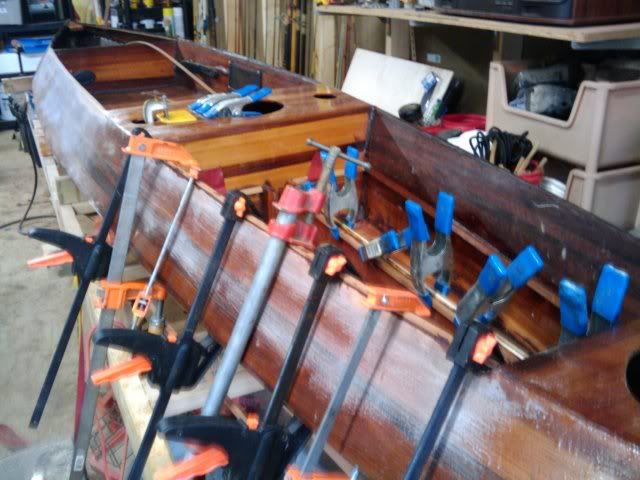
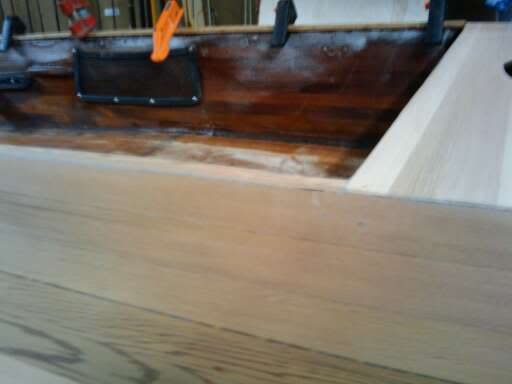
Started smoothing the edges of the gunnels down and preping for prettier topping.

Cut a strip 1/8 inch thick to cover the joint of the 2 panels.
Epoxied in place waiting for drying then sanding.
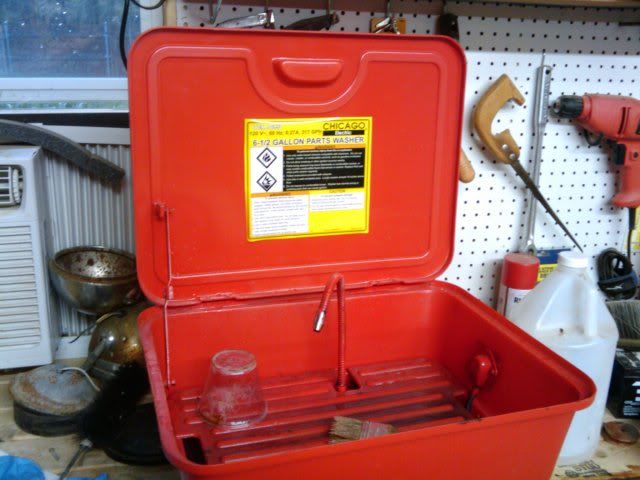
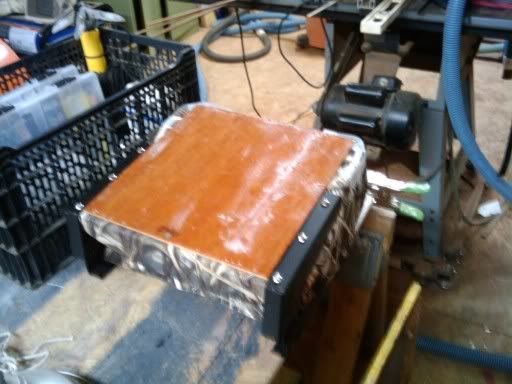
Thought I'd include a pic of my latest inovation. Picked up a cheap plastic parts cleaner at Harbor freight for $39.00. Poured in 2 gallons of vinegar and WOW, the epoxy washes away. Even brushes come out clean (but I still don't reuse them, afraid of some residual in the vinegar might mess things up). One caution. I completely forgot about metal and vinegar not mixing well. Next day found boat loads of corrosion. Used 3 coats of Rustoleum and everything been doing good for about a month now.
Re: CAPE FEAR STRIPPER-7/4
Posted: Mon Jul 05, 2010 4:42 pm
by preacher
I love the hot weather, the epoxy cures out faaaasssstttt. Got a little more work done, now I get to rest while the heat does it's work on the epoxy. Could have this puppy finished in another weekend . . . maybe.
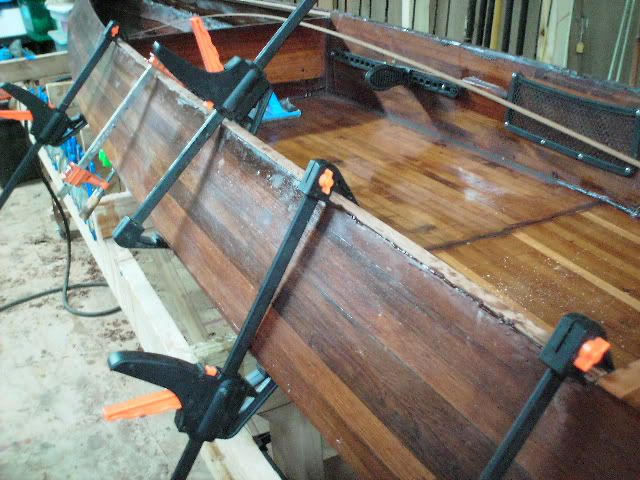
Left side wall top trim is done and looks better than I imagined it would.
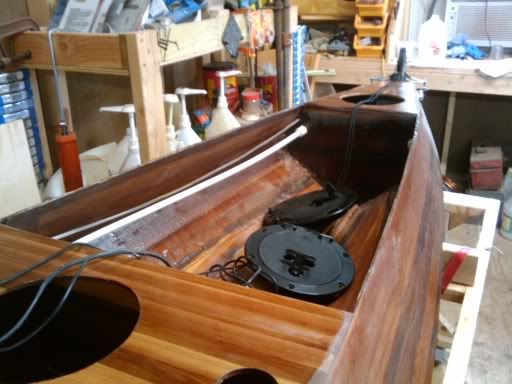
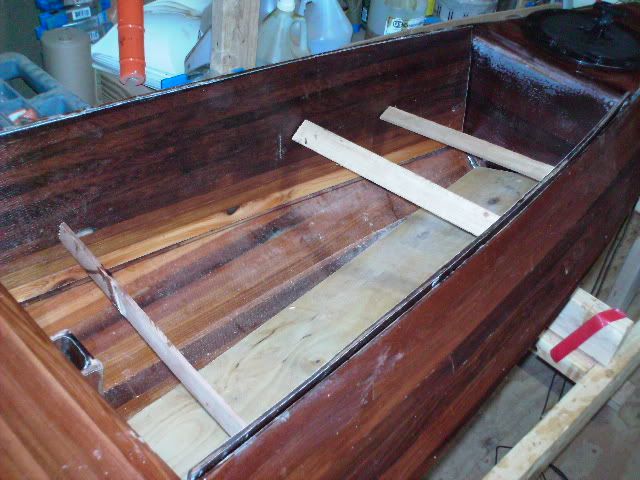
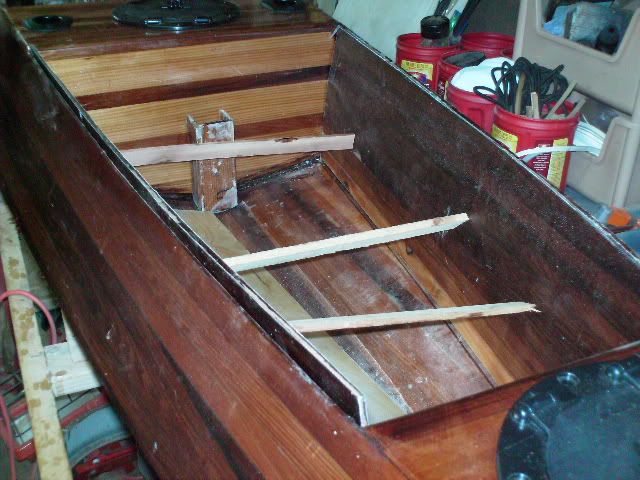
Now I'm doning the tankwell wall tops. Also installed the floor braces so I can construct the floor and set it in place.
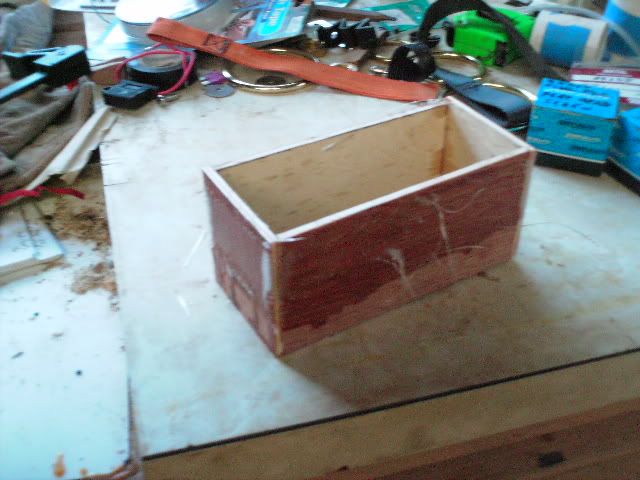
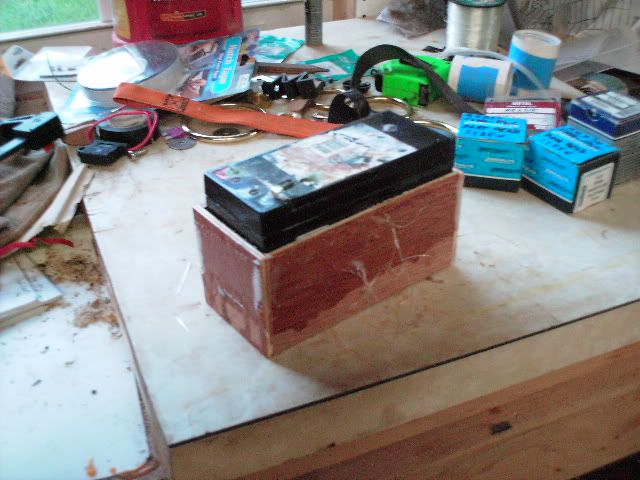
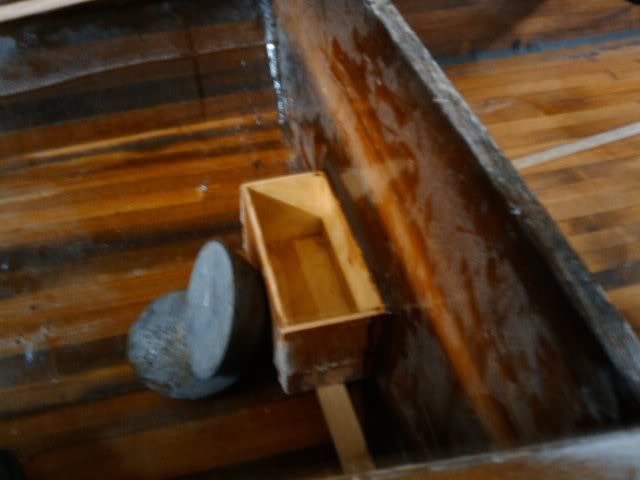
The battery box is epoxied in place and ready for action.
Re: CAPE FEAR STRIPPER-7/4
Posted: Fri Jul 09, 2010 12:22 am
by preacher
Tankwell floor is constructed and glassed on one side.
Starboard side top trim is in place and curing. Fore and aft.
Finished top trim port side.
Seat mount is glassed and attached. Velcro will be added later.
Re: CAPE FEAR STRIPPER-7/8
Posted: Sat Jul 10, 2010 11:43 pm
by preacher
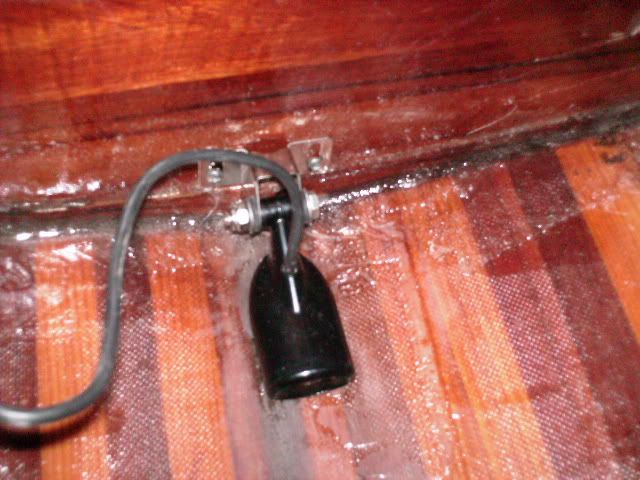
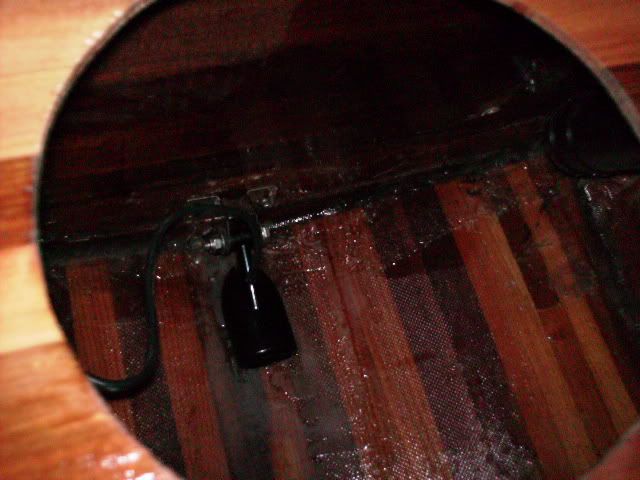
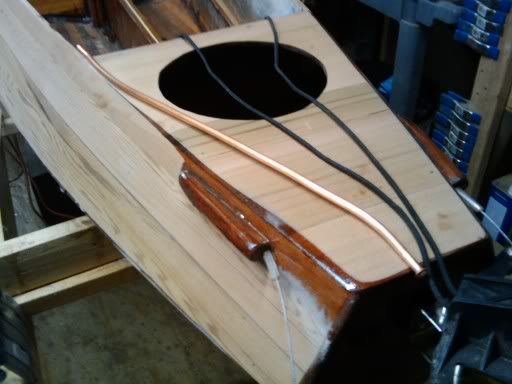
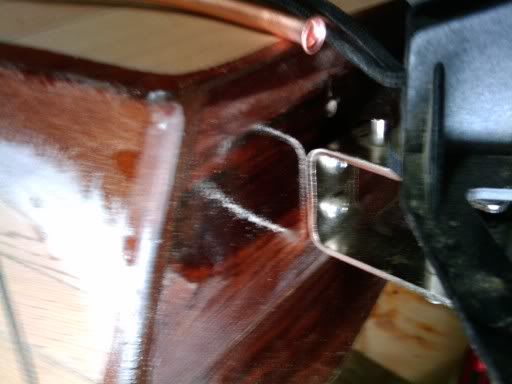
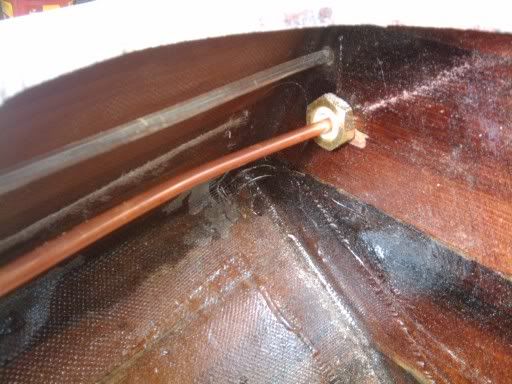
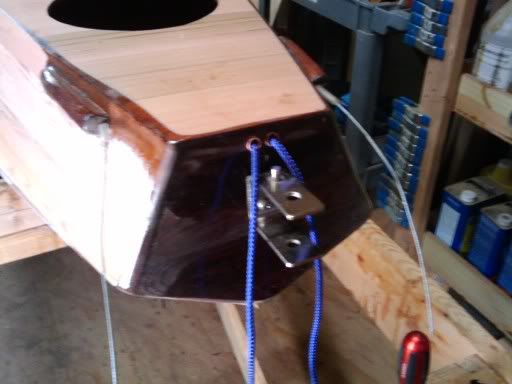
Re: CAPE FEAR STRIPPER-Rudder Elevator Installed
Posted: Mon Jul 12, 2010 10:06 am
by preacher
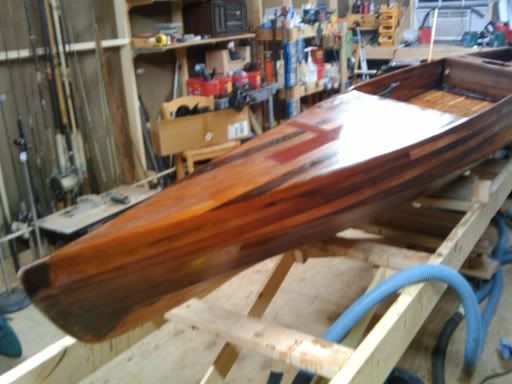
The woodwork is completed with the exception of some potential trim and cutting in the front hatch. Now I'm sanding the top portion, from the joint of the 2nd and 3rd panels up, getting ready to do the upper 4 oz glass work. After that I will flip the boat and graphite the bottom, then go back to the top side and put on my finish coatings and, finally, rig the boat out.
I hope it isn't vain to be proud of what you build but this Cape Fear is a beautiful design and the more I sand it out, getting ready to do the finish work, the prettier is looks (to me).

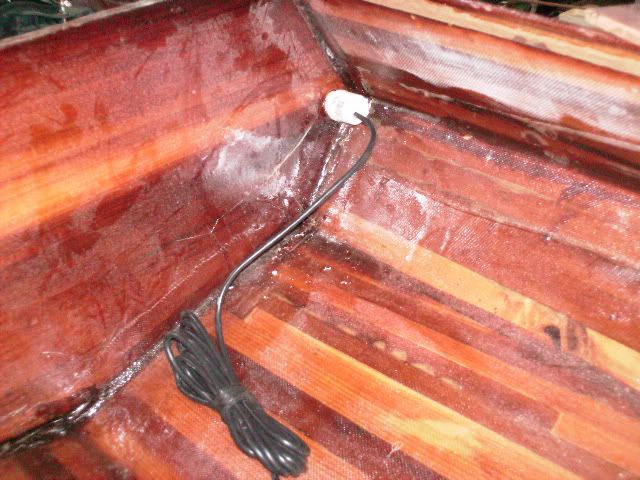
I'm guessing that this puppy is around 50-55 pounds max which includes the rudder controls and wiring conduits.
Re: CAPE FEAR STRIPPER-Rudder Elevator Installed
Posted: Wed Aug 04, 2010 2:49 pm
by preacher
Not going to post any pics of my sanding progress. I am going back to bare wood on the top panels, decks, cockpit and tankwell areas not covered with glass. Also cleaning up the fillets and blending the glass edges getting ready to apply the 4 oz glass and finish resin coats.
My DeWalt 1/4 sheet sander gave up the ghost so I had to go to Depot and buy another one. I am going to try out the Ryobi and see what a $20.00 savings gives me.
I can say that the lines that Matt (JEM) built into his design are beautiful. I need to put her on the scales and see what she weighs, feels like about 50 pounds or so. That's 20 pounds lighter than my OK Big Game tupperware boat that is only 12' 3" long with no rudder.
I can't wait to get in this puppy and see what she will do but my new shop is a tin roof oven these days and the air conditioner isn't helping. I do have a new 2 ton central unit sitting that may get installed soon
Re: CAPE FEAR STRIPPER-Sanding, sanding, sanding
Posted: Thu Aug 05, 2010 7:41 am
by Darrells
That is a great looking boat, you have done a wonderful job.
Re: CAPE FEAR STRIPPER-Sanding, sanding, sanding
Posted: Sat Aug 07, 2010 7:17 pm
by preacher
Well, despite work and all other interruptions I finished my sanding and have applied the saturation coat on the entire upper half including the cockpit and tankwell.
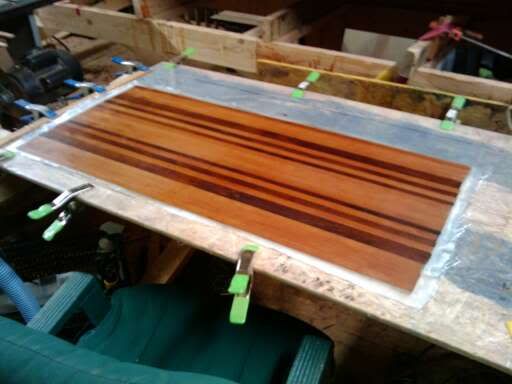
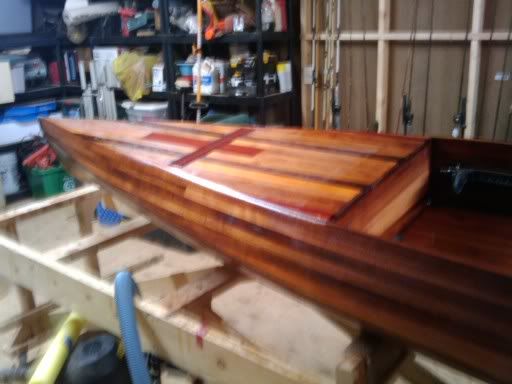
The bow deck. The bow looks a little different than Matt's (JEM) design. I took a little poetic liberty because I prefer the pointy bow rather than the laid back.
The cockpit is very roomy and I like the knee break in Matt's design. Rudder steering controls are in, rudder elevator is in.
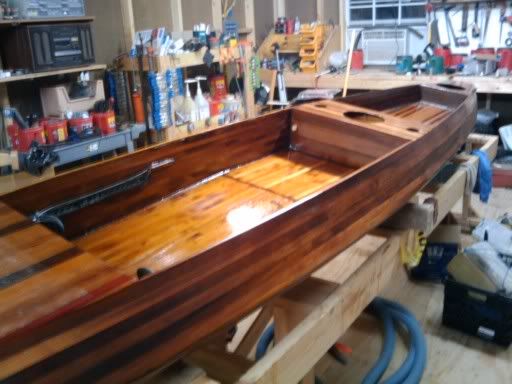
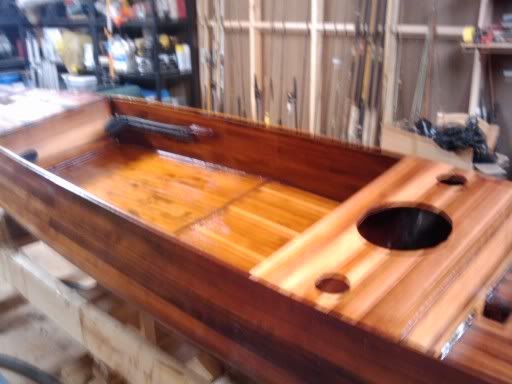
Tankwell is a little higher than Matt's design (1") because I'm afraid my body weight could cause a little deeper ride than most people.

This coat has dried and I completed a smooth finish light sanding and will apply 4oz glass to the upper panels and decks tonight when it is cooler.
After that I will flip and apply graphite to the bottom.


 \
\